Deploying React SPA in 10 Minutes using Azure
In this article, I would like to show how to deploy a React single page application within a short time. Microsoft is providing developers and engineers with great user experience, so I think sharing this article would help you to start your journey of cloud service at Azure.
Prerequisites
- This article assumes that you have a Microsoft Azure account
- Visual Studio Code
- I use macOS, but you can easily follow the below steps as Visual Studio Code can be installed in mac, Windows, Ubuntu and other platforms.
- Node and npm must be installed to follow React-related steps
create-react-app
Let's open Terminal, and run the following to create a React app
npx create-react-app myreactapp
cd myreactapp
npm start
The use of create-react-app might be controversial as it also installs several packages and modules that you would not use, but I would use it anyway for simplicity.
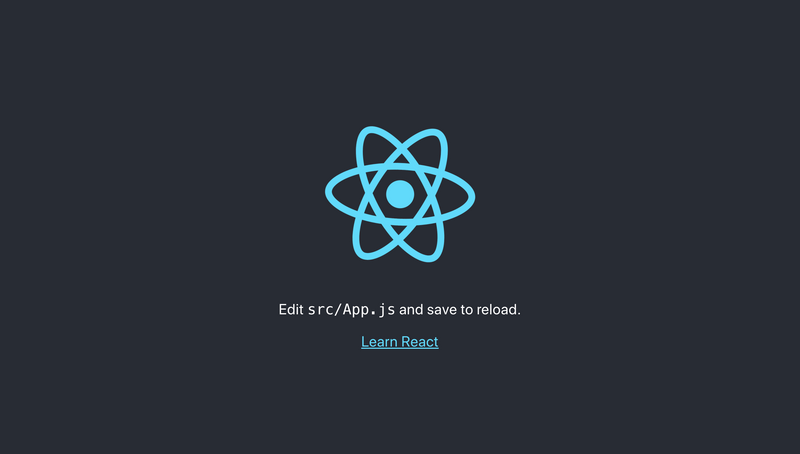
Once you run the above command and do npm start, you would see the below as usual.

react-router / react-router-dom
To create a Single Page Application (SPA) in this writing, I use React Router for this tutorial. While we interact with a server and load the entire new page in an old way, a SPA retrieves relevant codes with a single page load or/and update codes when necessary. For example, when a user enters input and hits a button, only part of the website changes due to his / her action.
Anyway, let's install React Router and proceed. In the Terminal, run
npm install --save react-router-domIn this tutorial, I make 3 different simple components, Main, About and Contact.
Main.js
import react from 'react';

function Main() {

    return (
        <h1>Main</h1>
    )
}

export default Main;
About.js
import react from "react";

function About() {
  return <h2>About</h2>;
}

export default About;
Contact.js
import react from "react";

function Contact() {
  return <h3>Contact</h3>;
}

export default Contact;
Visual Studio Code
Before deploying a website, install Azure extension on VS Code.

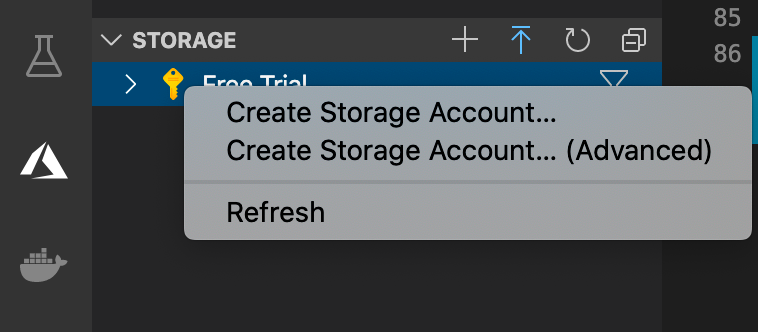
After signing in Azure, and create a storage account by right-clicking the Free Trial (it would be different depending on you account type)

You will be asked your app name. Also, if you do not have any Resource Group in Azure, it will ask the name of Resource Group as well. By default, your storage account will be created in US West, but you can also choose the region by clicking "Create Storage Account... (Advanced)" as shown above.
The very last step in this section is to configure your storage account. Once you created your storage account, you would see the following icon.

Once you click "Configure Static Website..." you will be asked to choose the file name of index page and error (404) pages. Type index.html for both of them, and finish the configuration.
Deployment
We are almost done! Once you finish the above steps, we now need to build and deploy the app so that people can see.
On Terminal (at the root of the app), enter the following so that build" folder is created and ready to be deployed.
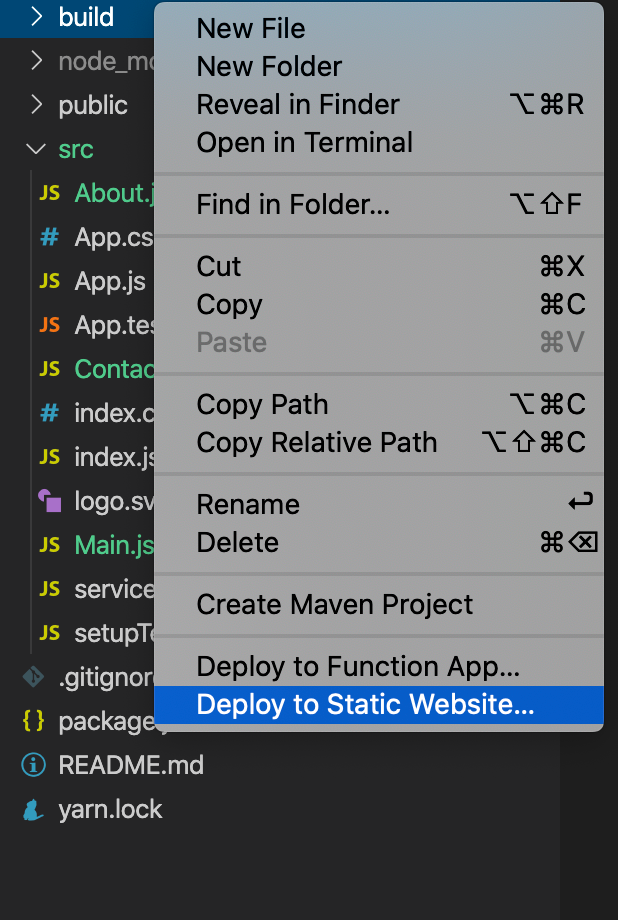
npm run buildFinally, open the VS Code again, and right-click the "build" folder. Choose "Deploy to Static Website...", and wait for a minute.
