Making Single-Page App in React with Django
Creating a single page app in React is getting easier than the past. There are many readings on blogs, Stackoverflow and Github talking about making a SPA using React, and it should be sufficient in many cases. A few days ago, I have encountered a problem: How do I use Django and React together? This reading is for a reference for myself and those who are interested in deploying a SPA in React with Django and implementing JWT authentication together.
Versions
Django: 3.0.2 python: 3.8.1 react: 16.12 react-router-dom: 5.1.2 I am using macOS Catalina (10.15.1) for this reading.
Prerequisites
pyenv & Python
We are going to create a Django project and virtual environment first. Visit pyenv repo and install pyenv-virtualenv. After installing pyenv, install python for pyenv with:
pyenv install 3.8.1pip
To install pip, run:
sudo apt-get pip
pip install --upgrade pip
Making A Virtual Environment
Let's begin. To save a project locally, create an empty directory and move:
mkdir projectEnv
cd projectEnv
Once we are in projectEnv directory, make a virtual environment to avoid a dependency issue. Run the following command to create a virtual environment that uses Python 3.8.1 version. I used the same name of the directory:
pyenv virtualenv 3.8.1 projectEnvAfter, we need to set the projectEnv directory to use the virtual environment, and confirm the python version of the environment:
pyenv local projectEnv
python --version // Python 3.8.1
If everything is okay, you will find that command line looks slightly different like the below:
(projectEnv) james@James projectEnvDjango Init
There are multiple ways to install Django. In order to get the latest official version, install it using pip:
pip install Django==3.0.2Vertify the version by the following command:
python -m django --version // 3.0.2Run the following command to 1) create a Django project myProject and 2) go to inside of the project:
django-admin startproject myProject
cd myProject
In order to check whether it is running well or not, there is no better way other than trying it out.
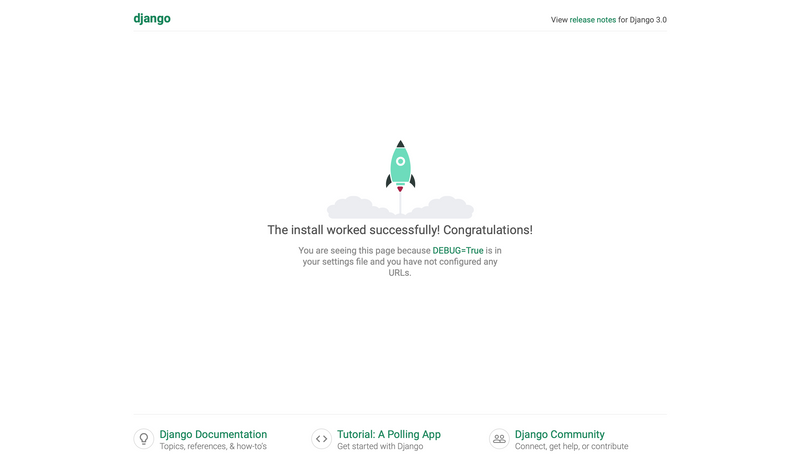
python manage.py runserverThe above command will show you the beautiful a Django default landing page!
Create-react-app
There are a few ways to install and deploy React app, but I personally prefer an easier way always.
Create a python app using the following command:
python manage.py startapp frontendTo set up a react app, execute the following:
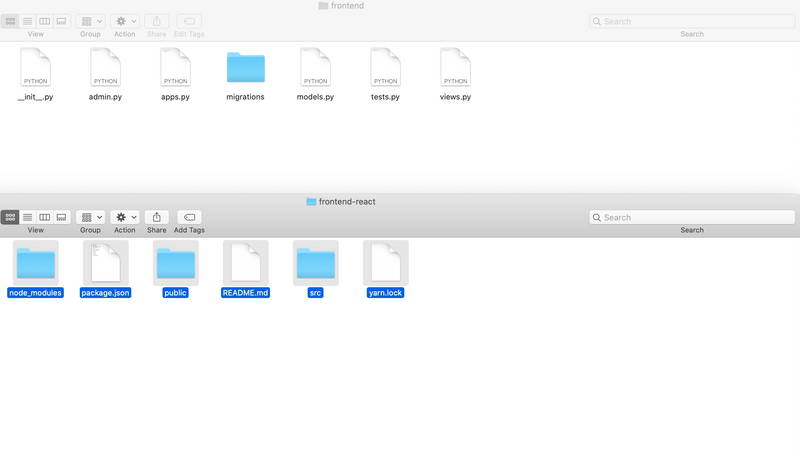
npx create-react-app frontend-reactYou would be able to find a frontend and frontend-react directories inside of myProject directory.
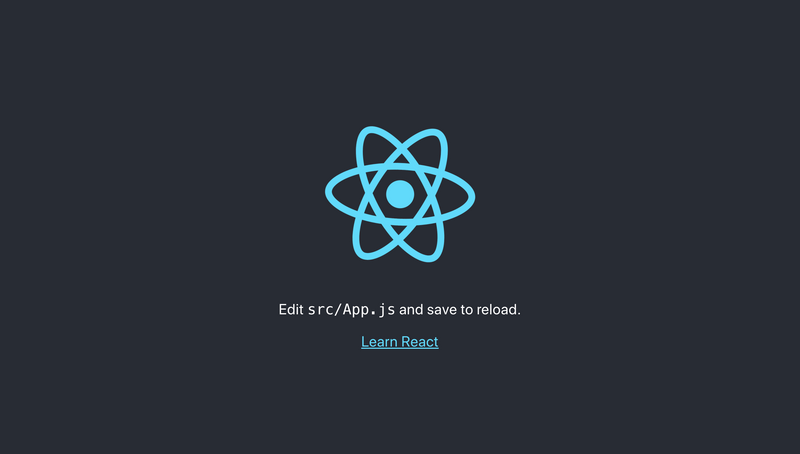
Let's move to frontend-react and see if it is working.
yarn start // OR the below is possible too
npm start
Django Rest & JWT
Before we proceed to further, let's move react files into Django app just in case. Copy evert file in frontend-react and paste them in frontend folder. (frontend-react folder can be deleted once files are pasted)
In the terminal, run the following command to move to frontend (I assume that we are in frontend-react folder)
cd ... // move to projectEnv/myProject
cd myProject
To achieve our goal (i.e, react SPA with Django and Auth), we need to install Django, Django REST framework, Django REST framework JWT and Django CORS headers.
(MORE EXPLANATION WILL BE UPDATED)
Type the following to install the mentioned package:
// Assumption: we are in projectEnv/myProject

pip install django // Might be installed already
pip install djangorestframework
pip install djangorestframework-jwt
pip install django-cors-headers
Now, we need to update our settings.py. In the file, add the followings:
INSTALLED_APPS = [
    ...
    'rest_framework',
    'corsheaders'
]


MIDDLEWARE = [
    ...
    'corsheaders.middleware.CorsMiddleware',
    'django.middleware.common.CommonMiddleware',
    // This should be included already. Here for reference
    ...
]


REST_FRAMEWORK = {
     'DEFAULT_PERMISSION_CLASSES': (
            'rest_framework.permissions.IsAuthenticated',
    ),
    'DEFAULT_AUTHENTICATION_CLASSES': (
        'rest_framework_jwt.authentication.JSONWebTokenAuthentication',
        'rest_framework.authentication.SessionAuthentication',
        'rest_framework.authentication.BasicAuthentication',
    ),
}

    CORS_ORIGIN_WHITELIST = [
    'http://localhost:3000',
    'http://localhost:8000',
    'http://localhost:8080'
    ]
NOTE:
- In
MIDDLEWARE, the order must be kept. DEFAULT_PERMISSION_CLASSESenforces a request to be authenticated before processed.DEFAULT_AUTHENTICATION_CLASSESdefines which authentication class the server will use once received a request.CORS_ORIGIN_WHITELISTis needed so that React app can communicate with the server.
To see how jwt token works, we will also configure urls.py
from rest_framework_jwt.views import obtain_jwt_token
urlpatterns = [
    ...
    path('token/', obtain_jwt_token)
]
We are almost ready. Update the app by migrating, and create a super user:
Assumption: we are in projectEnv/myProject
python manage.py migrate
python manage.py createsuperuser
Once you type the last line, you will be asked to enter username, email address and password for the username. That's it!
Now, let's test how it looks. Run the following command,
python manage.py runserverand visit http://localhost:8000/token/, typing username and password.


